
How to Upscale an Image for Instagram
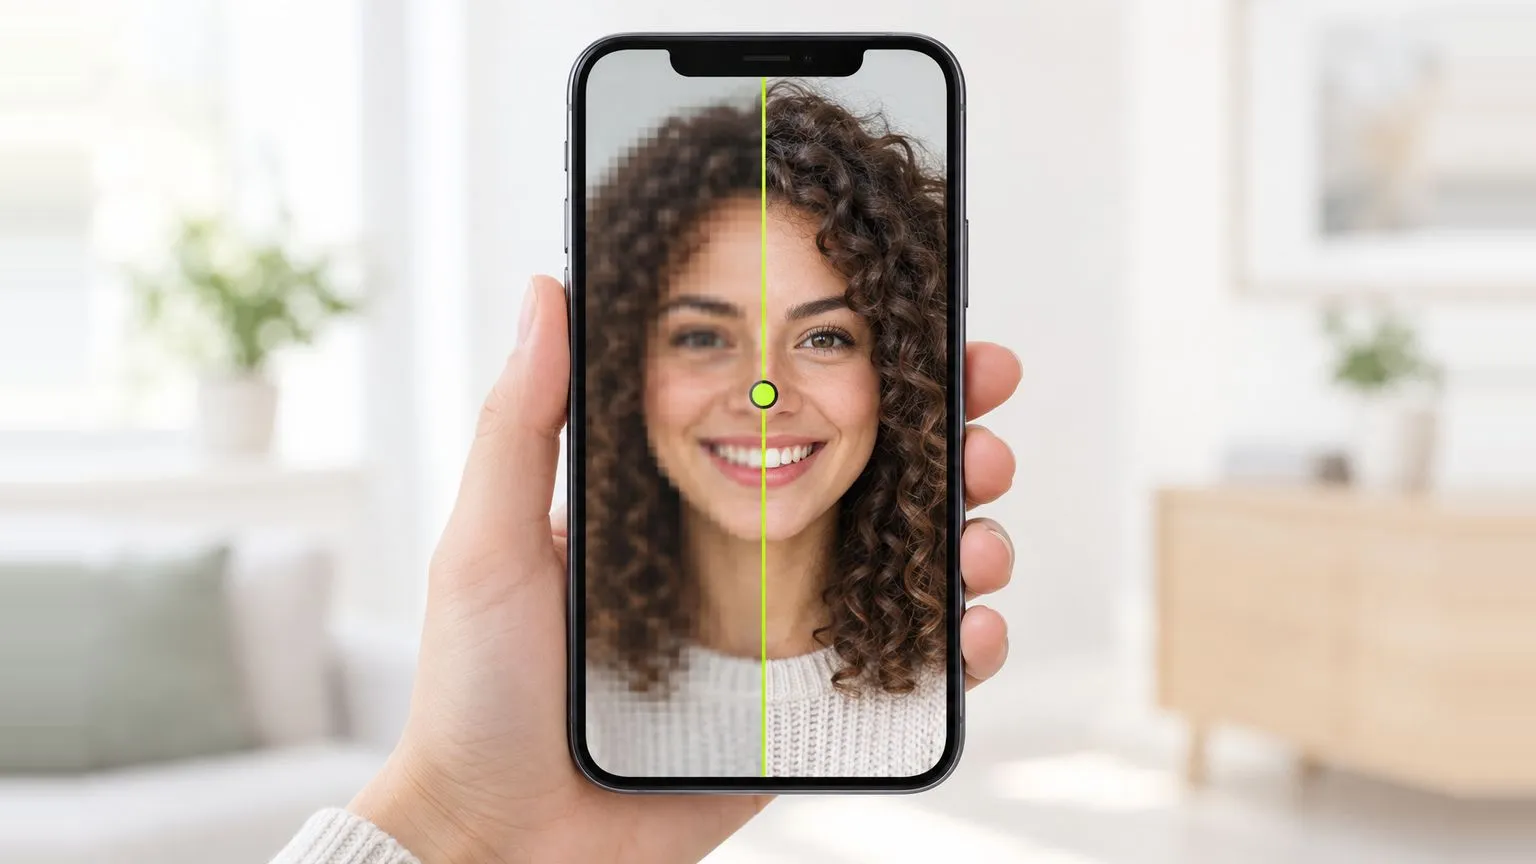
Instagram keeps feed photos at up to 1080 pixels wide, so the job is to get your image to exactly 1080 px across before you upload it. If your photo or crop is narrower than that, upscale it 2x when it's at least 540 px wide and 4x when it's narrower, then resize the result down to 1080 px wide in the ratio you want: 1080×1350 for a portrait post, 1080×1080 for a square, 1080×1920 for a Story or Reel cover.
That's the whole method. The rest of this post is the numbers behind it, worked examples for the photos people actually struggle with, and what to do so Instagram's own compression doesn't undo the work.
The sizes Instagram actually keeps
Instagram's help page on image resolution gives three rules for feed photos:
- A photo between 320 and 1080 px wide is kept at its original resolution, as long as its aspect ratio is between 1.91:1 (landscape) and 4:5 (portrait).
- A photo narrower than 320 px is enlarged to 320 px wide.
- A photo wider than 1080 px is sized down to 1080 px.
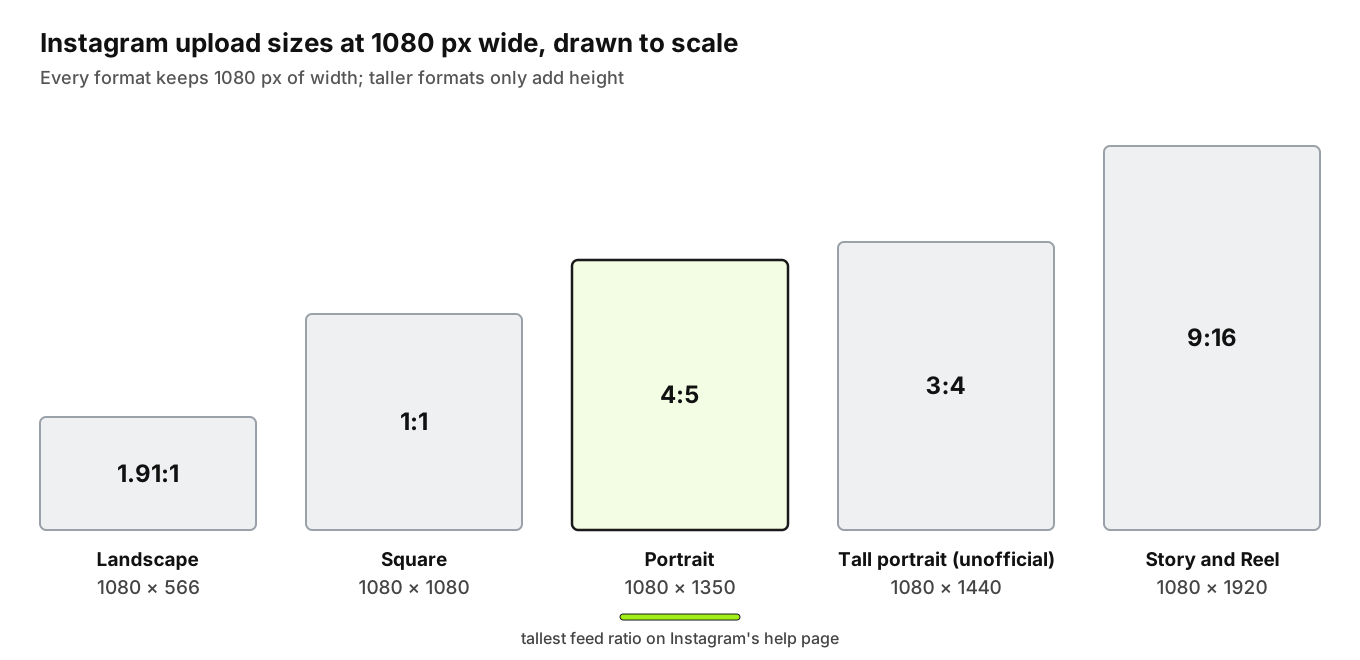
A ratio outside that range gets cropped to fit. Put together, every feed format is 1080 px wide and only the height changes.
| Format | Ratio | Upload size |
|---|---|---|
| Landscape post | 1.91:1 | 1080×566 |
| Square post | 1:1 | 1080×1080 |
| Portrait post | 4:5 | 1080×1350 |
| Story, Reel cover | 9:16 | 1080×1920 |
Two things in other guides don't match the help page, so it's worth knowing where they come from. Since January 2025 the profile grid shows posts as 3:4 tiles (Kapwing's write-up covers the change), and many guides now list 1080×1440 as an upload size. Instagram's help page still names 4:5 as the tallest feed ratio, so 1080×1350 is the safe choice: it fills the feed, and the grid only trims a thin strip from each side of it. The other mismatch is Stories. Instagram doesn't publish an organic Story size; 1080×1920 is the common target, and Meta's ad specs ask for 1440×2560 for Story ads, which is the same 9:16 shape at a higher resolution.
Which scale gets your photo to 1080 px
Divide 1080 by the width of your crop. If the answer is 2 or less, 2x is enough. If it's between 2 and 4, use 4x. Then shrink the upscaled file to exactly 1080 px wide. The reason to stop at 2x when you can is covered in why 2x is usually enough; for Instagram the short version is that every extra pixel past 1080 gets thrown away anyway.
Some common cases, worked through:
| Starting photo | Crop for Instagram | Crop width | 1080 ÷ width | Scale | Upscaled to | Then resize to |
|---|---|---|---|---|---|---|
| 12 MP phone photo, 4032×3024 | 4:5 portrait | 2419 px | 0.45 | none | 1080×1350 | |
| Friend cropped out of a group shot | 4:5 portrait, 560×700 | 560 px | 1.93 | 2x | 1120×1400 | 1080×1350 |
| Pet cropped from a 12 MP photo | 1:1 square, 756×756 | 756 px | 1.43 | 2x | 1512×1512 | 1080×1080 |
| 2005 compact camera, 640×480 | 4:5 portrait, 384×480 | 384 px | 2.81 | 4x | 1536×1920 | 1080×1350 |
| 640×480 photo | 1:1 square, 480×480 | 480 px | 2.25 | 4x | 1920×1920 | 1080×1080 |
| 720p video still, 1280×720, for a Story | 9:16, 405×720 | 405 px | 2.67 | 4x | 1620×2880 | 1080×1920 |
The first row is the point most people miss: a full phone photo never needs upscaling for Instagram. It's already more than twice as wide as Instagram keeps. When a post from a modern phone looks blurry, the cause is usually a tight crop, a screenshot, or a file that went through a messaging app first.
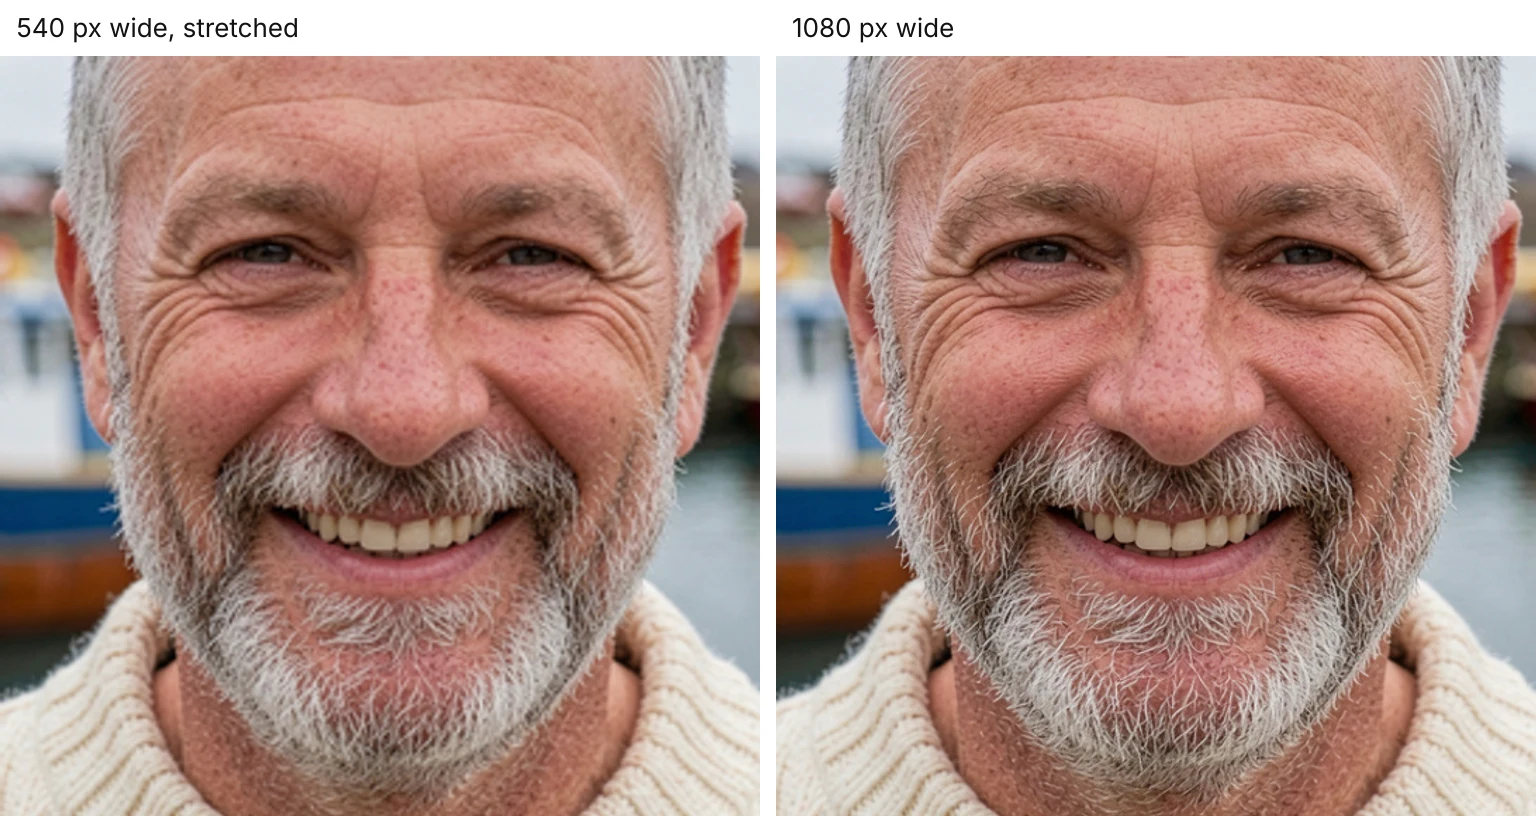
The second row is the classic. You crop one person out of a group photo, the crop is 560 px wide, and Instagram shows it at its own size on a screen that wants 1080. On a phone that fills the screen width, each of your pixels gets stretched to about two, and faces go soft.
How to do it, step by step
- Crop first, at full resolution. Crop to 4:5, 1:1 or 9:16 in your phone's editor from the original file, not from a screenshot or a copy someone sent you. Note the crop's width.
- Pick the scale with the rule above: 2x if the crop is 540 px wide or more, 4x below that.
- Upscale it. Drop the crop into a browser upscaler and upscale the crop to 1080 px wide or more with the scale you picked. FreeUpscaler accepts JPG, PNG, WebP and AVIF up to 20 MB, offers 2x and 4x, and runs on your own device, so the photo isn't uploaded anywhere.
- Resize to exactly 1080 px wide. Any image editor can do this: Preview on a Mac (Tools, Adjust Size), Photos on Windows (Resize image), or a resize option in your phone's editing app. Keep the aspect ratio locked so 4:5 stays 1080×1350.
- Save as a high-quality JPG in sRGB and upload that file.
Why resize down yourself instead of uploading the 1512 or 1920 px file? Because Instagram will resize it anyway, and its resize is followed straight away by its own compression. Doing the downsize in an editor you control means Instagram receives a file it keeps at its native size, and only one lossy step happens on its side.
Why Instagram makes photos soft, and how to give it a file that survives
Instagram doesn't serve your file. It stores and serves its own compressed copy, sized to its rules. Each lossy step costs detail, and the steps stack: a photo that WhatsApp compressed, that was saved again as a JPG after cropping, and that Instagram then compressed has lost detail three times. What survives best is a clean file at exactly the size Instagram wants:
- Exactly 1080 px wide, in a ratio from the table, so nothing gets resized or cropped on upload.
- sRGB color. Wide-gamut files can shift in color after conversion; exporting in sRGB means what you see is what you post.
- A high JPG quality (around 90) or PNG. A file already full of compression blocks gets those blocks re-compressed, and they get worse.
- Upscaling before compression, never after. Upscale the cleanest copy you have. Upscaling a heavily compressed copy sharpens the blocks along with the detail.
- The "Upload at highest quality" setting turned on. It's in the app's settings under data usage and media quality (the exact menu names vary by version), and it's been reported as off by default for many accounts. Without it, Instagram may compress harder on a slow connection.
Mild output sharpening for screens can help a photo hold up after Instagram's compression. An upscaled image usually doesn't need it: the edges are already crisp, and sharpening on top tends to give faces a crunchy look.
Where upscaling won't save the post
Upscaling rebuilds plausible detail from the pixels it has; how AI rebuilds detail explains the mechanics. It can't recover what was never captured, so some photos stay weak:
- Tiny faces. A face 40 px across in a group shot doesn't hold enough information to rebuild that person's features. The result will be sharp but may look smoothed or a little unlike them.
- Motion blur and missed focus. Upscaling makes a blurred photo bigger and a little cleaner. The blur stays.
- Text in screenshots of screenshots. Heavy compression around letters turns into confident but wrong shapes. Retype the text or find the original.
- Very large inputs on phones. FreeUpscaler works on images up to 2048 px on the long edge (1024 px on iPhone and iPad) and scales bigger files down first. For Instagram that rarely matters, because a crop that needs upscaling is small by definition.
If your crop is narrower than about 270 px, even 4x doesn't reach 1080, and the honest answer is to find a bigger copy of the photo. Ask the person who took it for the original, check your cloud backup, or rescan the print at 600 dpi.
Ready to try it yourself? It's free, and your files never leave your device.
Try the free AI image upscaler