
How to Upscale Old Scanned Photos
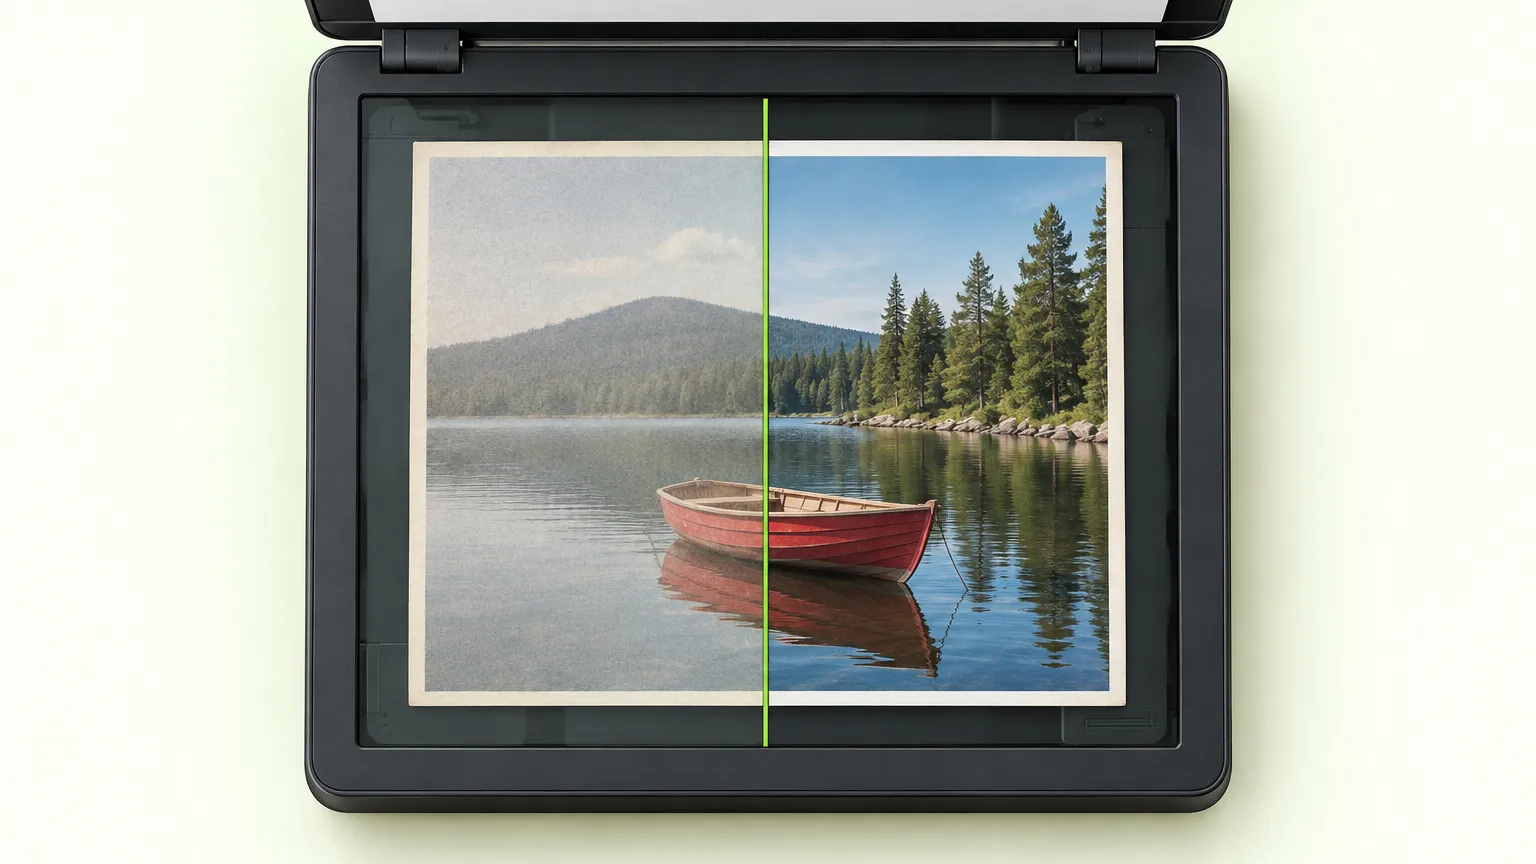
Scan the print at 600 dpi, save it without compression, then crop to the part you want and upscale that. A higher scan setting rarely rescues a soft snapshot, and an upscaler works best on a clean, well-framed scan. The one catch is size: FreeUpscaler takes images up to 2048 px on the long edge (1024 px on iPhone and iPad), so a full 600 dpi scan of a 4x6 print is bigger than it will use.
How many pixels a scan gives you
A scan's size is the print's size in inches times the dpi you choose. The numbers climb fast:
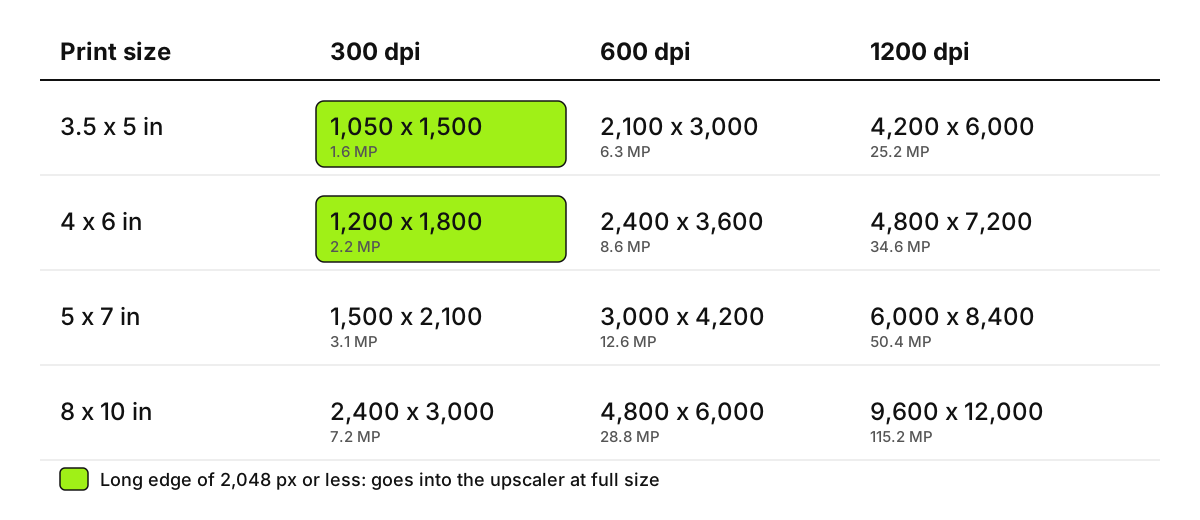
A 4x6 print at 600 dpi is 2400 x 3600 px, about 8.6 megapixels. At 1200 dpi it is 4800 x 7200 px, 34.6 MP, which is roughly 104 MB as an uncompressed 24-bit image. That is a lot of storage for a snapshot that may hold less detail than the 600 dpi scan already captured.
Why 1200 dpi usually doesn't help
The print only contains so much, and the scanner's highest setting usually goes past it. The Library of Congress's Signal blog recommends 300 dpi for 4x8, 5x7 and 8x10 photos. Its guest expert Barry Wheeler doubts reflective prints gain any significant improvement beyond 400 ppi, and notes that common scanners can be only about 50% efficient: many advertised 1200 ppi scanners deliver less than 600 ppi of real optical resolution. The rest comes from interpolation, which invents pixels the way a plain resize does.
Photographer David Riecks, quoted in the same post, puts the practical cost bluntly: higher resolutions "usually just give me more dust to spot out later."
So 600 dpi is a sensible ceiling for most albums. Reach for 1200 dpi only for small originals, such as a wallet-size print, or when you know you will crop hard into a group shot. If your scanner's spec sheet lists a 600 dpi optical resolution, a 1200 dpi setting won't add real detail on it.
The scan settings that matter more than dpi
- Color mode: scan in color even for black-and-white prints. Old paper tones and fading show up in color data, and you can convert later.
- File format: save a TIFF or PNG master. A JPG saved straight from the scanner bakes in compression you can't undo, and the upscaler will amplify its blocks. The PNG, JPG or WebP post covers the trade-off.
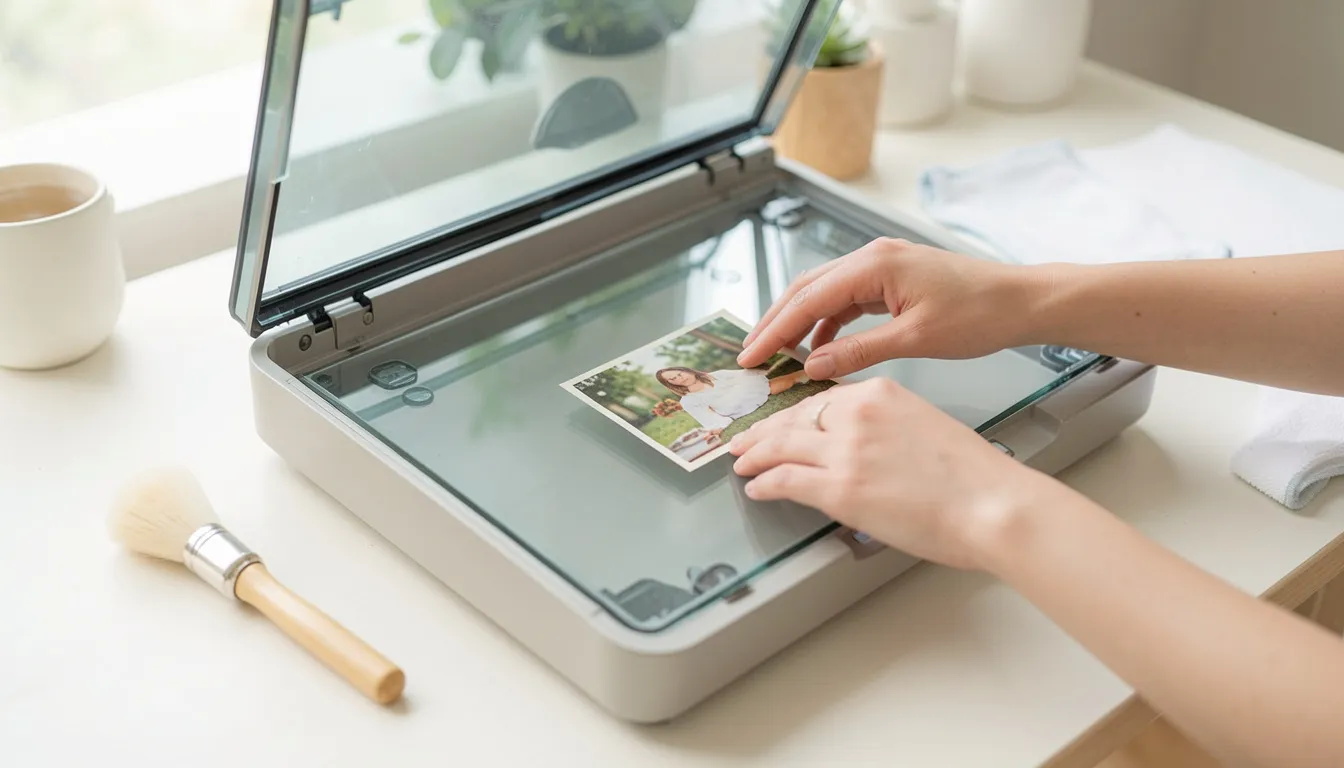
- Clean the glass and the print first. A soft brush and a microfiber cloth take care of the specks. Every dust spot is a bright white dot that gets bigger when you upscale.
- Turn off the scanner's auto sharpening and auto dust removal if it has them. They tend to leave halos and smeared grain, and the upscaler then treats those as detail.
- Straighten and crop afterward, not in the scanner software. You keep the full scan as your master.
Fit the scan to the upscaler
Because the upscaler stops at 2048 px on the long edge, you have two clean ways to work, depending on what you want.
To enlarge the whole print, scan at 300 dpi. A 4x6 print comes out at 1200 x 1800 px, which goes in at full size. Upscale it 2x and you have 2400 x 3600 px: enough for an 8x12 print at 300 dpi. A 5x7 at 300 dpi is 1500 x 2100 px, just over the cap on its long edge, so it's scaled down a little (to about 1463 x 2048) before upscaling.
To enlarge part of a print, scan at 600 dpi and crop. Say you have a 3.5x5 snapshot and want a portrait of the person on the left. At 600 dpi the full scan is 2100 x 3000 px; their head and shoulders are about 1000 x 1000 px. Crop that square and upscale it 2x for a 2000 x 2000 px result, about 6.7 x 6.7 inches at 300 dpi. A 600 dpi scan gives that crop twice as many pixels on each side as a 300 dpi scan would, which is the real use of the higher setting.
Keep the 600 dpi master either way, so you can crop a different part later.
Once the scan is clean and sized, you can upscale the scan in your browser. The file stays on your device. Choose 2x for a normal print enlargement. Use 4x only for a small crop, since it asks the most of the original's detail. For print sizing from the result, see what size a print needs.
What upscaling can and can't do with a scanned print
Upscaling adds plausible detail to edges and texture. If you want the mechanism, how AI rebuilds detail explains it. On scans, results fall into three groups.
It helps with: soft edges from an old lens, the pixel-level softness of a low-resolution scan, and the blocky look of a small scan saved as JPG.
It changes but doesn't remove: film grain. Grain is real texture in the print, not noise on top of it. An upscaler may smooth it or enlarge it into blotches, and the result depends on the photo. Check the grain in a close crop before you upscale the whole picture.
It doesn't fix:
- Halftone dots. Scans of magazine, newspaper or printed-postcard images come out as a grid of ink dots, often with moire patterns where the dot grid beats against the scanner's sensor. Upscaling enlarges the pattern. Look for a descreen option in your scanner software (Canon and Epson drivers list it for magazine sources) and use it only on printed matter, since Scantips warns against it for real photographs, where it only blurs. Scantips also notes that scanning at 600 dpi reduces moire, and that the filter's blur is by design.
- Faded color. A yellow cast or washed-out reds are in the scan, and the upscaler treats them as the picture. Fix color in a photo editor before or after, not with the upscaler.
- Scratches, creases and tears. Those are damage, not softness, so they stay (and get larger). Jobs like restore old photos and remove scratches are separate from upscaling, and this upscaler does neither.
- Tiny faces. A face 40 px wide in the scan has too little information; AI will produce something smooth and a little generic. If the face matters, a 1200 dpi rescan of that corner is worth one try; a small crop of a small original is where the higher setting can pay off.
A short workflow
- Brush off the print and the glass.
- Scan at 600 dpi in color, as TIFF or PNG. Use 1200 dpi only for wallet-size prints or a very tight crop.
- Save the master untouched.
- Make a working copy: for a whole print, scan again at 300 dpi or downsize the copy to 2048 px on the long edge; for a detail, crop it.
- Upscale the copy at 2x, check the face and the edges, and save as PNG.
Test this on one print before you commit to a whole shoebox.
Ready to try it yourself? It's free, and your files never leave your device.
Try the free AI image upscaler