
How to Upscale Old Home Videos to HD
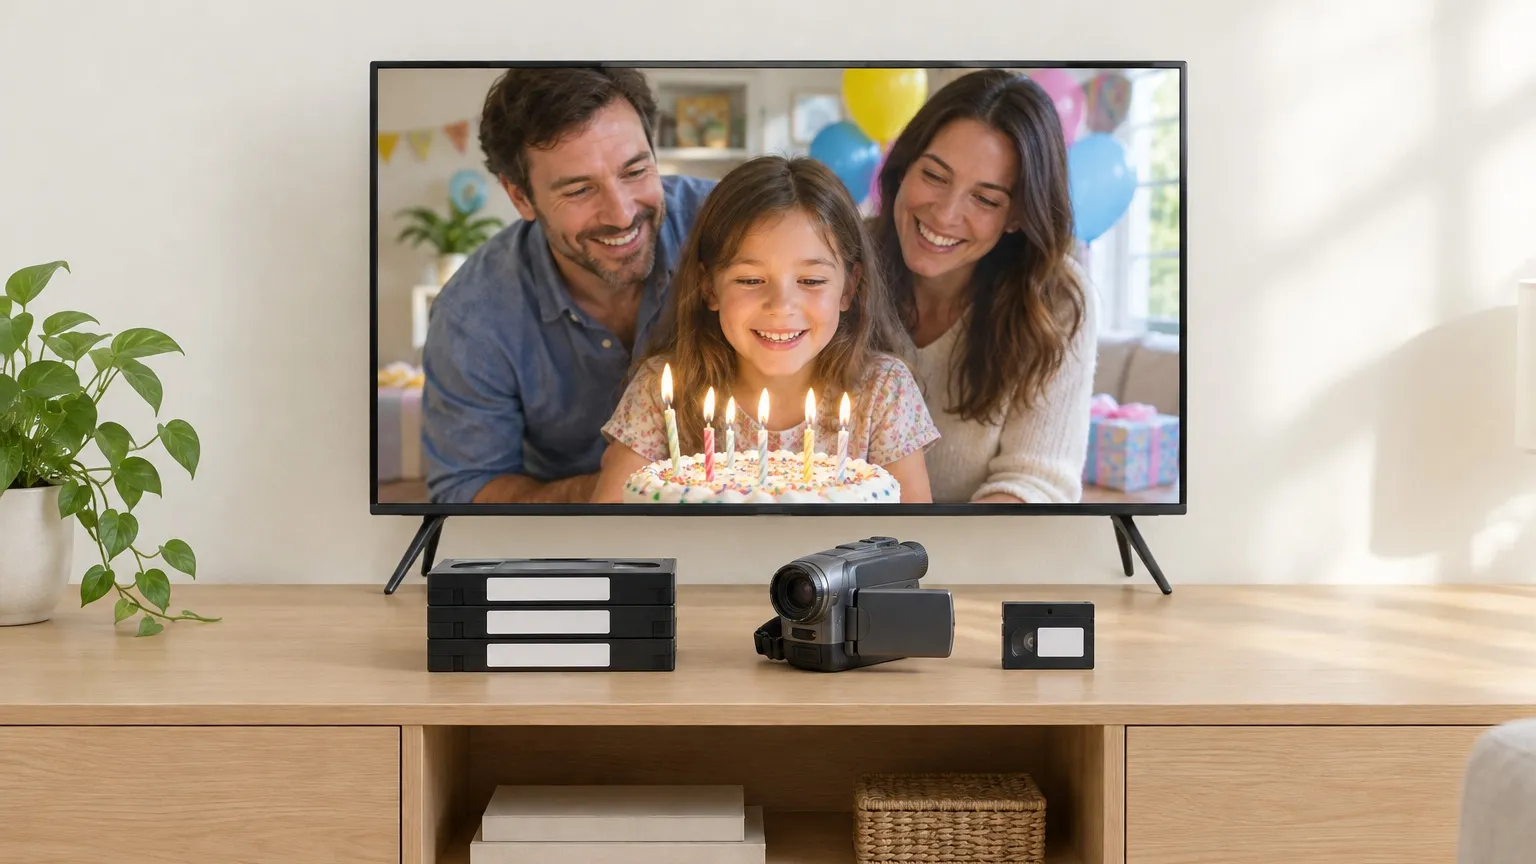
To upscale old home videos, capture the tape at full quality, deinterlace it to progressive frames, then upscale the clean file 2x (3x for good MiniDV or Hi8 headed to a 4K TV). Do it in that order: upscaling first bakes the tape's interlacing lines and wobble into a bigger file. Set your expectations by the source, too. A VHS tape holds far less picture than its 720×480 capture file suggests, so the realistic goal is a steadier, cleaner picture that holds up on a big screen. It will still look like tape.
What's actually on the tape
The capture file is always 720×480 (NTSC) or 720×576 (PAL), but that's the size of the container, not the amount of detail recorded. The tape format sets the real ceiling:
| Format | Rated resolution | What that means in practice |
|---|---|---|
| VHS (Video8 is similar) | About 240 TV lines | Roughly 333×480 of brightness detail and about 40×480 of color detail (VHS) |
| S-VHS, Hi8 | About 400 lines | Noticeably sharper, but still analog, with tape noise (8 mm video) |
| MiniDV, Digital8 | 720×480 or 720×576, recorded digitally | The cleanest home format; the file holds the camera's real pixels (DV) |
All of these are interlaced. Each frame is two half-pictures (fields) recorded a fraction of a second apart, 59.94 fields a second in NTSC countries and 50 in PAL ones. On a CRT that looked smooth. On a flat screen, any motion shows up as comb-like stripes along edges unless something deinterlaces it.
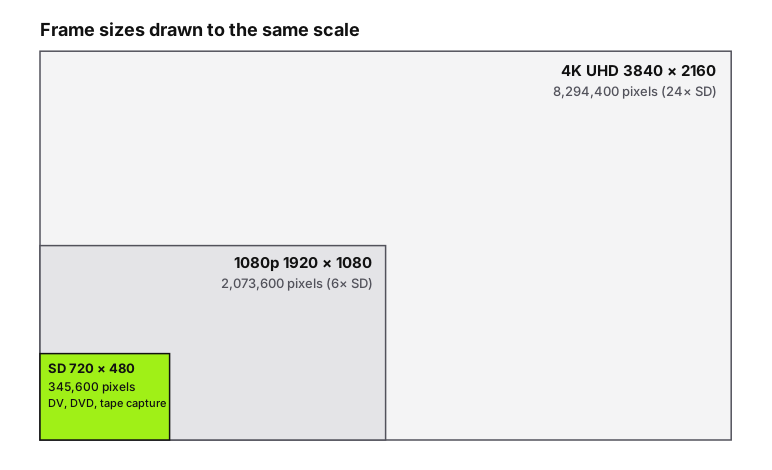
A 1080p frame has six times the pixels of a 720×480 one, and 4K has 24 times. On VHS, the gap is bigger still, because the tape never filled even the SD frame.
Step 1: capture well, because nothing later fixes it
Every later step works from the capture. Most of the quality is won or lost here.
MiniDV and Digital8: transfer over FireWire (IEEE 1394). The camera sends the recorded digital stream as is, so there's no quality setting to get wrong. DV runs at about 25 Mbit/s of video plus 1.5 Mbit/s of audio, which works out to roughly 12 GB per hour of tape.
VHS, S-VHS, Video8 and Hi8: these are analog, so the capture chain matters:
- Clean the playback heads and play each tape once before capturing if it has sat for years.
- Use S-Video out if the deck has it. Composite mixes brightness and color into one signal and loses color detail you can't get back.
- Use a time base corrector (TBC), either built into a good deck or as a passthrough box. It steadies the jittery timing of tape playback, the cause of wobbly verticals and torn edges.
- Capture interlaced at 720×480 (or 720×576) to a lossless codec such as FFV1 or HuffYUV. Cheap USB grabbers that compress or deinterlace on the fly throw away detail before you've started.
Lossless captures are big. Uncompressed 8-bit 4:2:2 at 720×480 is 691,200 bytes a frame, about 20.7 MB a second or 75 GB an hour. Lossless codecs shrink that, but plan on tens of gigabytes per tape. Keep this capture as your archive master and never edit it in place.
Step 2: deinterlace before you upscale
An upscaler treats comb stripes as real detail and sharpens them, so an interlaced file comes out with crisper stripes. Deinterlace first.
The usual tools are QTGMC (through a front end such as Hybrid) for the best quality, or the Bwdif and Yadif filters in HandBrake's filter set if you want something simpler. Choose double-rate output (often labeled "bob" or "send field"): each field becomes its own frame, so NTSC goes to 59.94 frames a second and keeps the fluid motion people remember from the camcorder. Single-rate output (29.97) halves the motion and looks choppier on handheld footage.
Two checks before you run it. Some capture devices already deinterlace, so look at a paused frame with motion; if there are no stripes, skip this step. And remember the frame count: five minutes at 59.94 is 17,982 frames, twice the 8,991 of single rate, so double rate doubles the upscaling work.
Step 3: crop and tidy the frame
VHS captures usually carry a few lines of torn, flickering picture along the bottom edge. That's head-switching noise, the moment the deck swaps video heads, and it was hidden by the overscan on old TVs. Crop it off, along with any black side borders, before upscaling, so the upscaler doesn't spend effort sharpening garbage.
Check the shape while you're here. A 4:3 tape captured at 720×480 should display at about 640×480 in square pixels. If faces look slightly fat or thin, the file's aspect flag is wrong. Fix it now (or export a square-pixel 640×480 working copy) so the upscaled frame keeps the right proportions.
Step 4: pick the scale
None of the scales lands exactly on 1080 lines: 480 to 1080 is 2.25x. Your TV or player handles the last small step, and a 4:3 picture fills a 1440×1080 area on a 1080p TV anyway, with bars at the sides.
| Working copy | 2x | 3x | 4x |
|---|---|---|---|
| NTSC 4:3, 640×480 | 1280×960 | 1920×1440 | 2560×1920 |
| PAL 4:3, 768×576 | 1536×1152 | 2304×1728 | 3072×2304 (over the 2160 cap) |
For VHS and Video8, use 2x. The tape holds about 333 samples of detail across the frame, and 2x already gives the upscaler room to draw clean edges; 3x and 4x mostly enlarge tape noise and make bigger files.
For clean MiniDV, Digital8 or good Hi8 that you'll watch on a 4K TV, use 3x. These sources have enough real detail to benefit, and 1440 lines leaves the TV only a 1.5x step to a 2160-line screen.
Skip 4x for tape. On analog sources it mostly enlarges noise, and because the free upscaler caps output at 3840×2160, a 4:3 PAL copy can't go to 4x at all.
Step 5: split the tape into clips and upscale each one
A two-hour tape is too long to process as one file, and you probably don't want all of it anyway. Cut it into scenes first: the birthday, the beach trip, the school play. Natural scene breaks make better files than blind cuts every few minutes, and they let you upscale the parts worth keeping before the 40 minutes of carpet from when the camera was left running.
For the free browser upscaler, each clip has to be 5 minutes or shorter and at most 150 MB, as MP4, MOV, M4V or WebM. That size limit sets your bitrate: 150 MB over 300 seconds is about 4 Mbit/s for video and audio together. Export each working copy as H.264 MP4 at around 3.5 Mbit/s video with 192 kbit/s AAC audio, and a full 5:00 clip lands near 138 MB. That's plenty for SD footage. A 5-minute clip straight from DV would be close to 1 GB, so it needs this re-encode too.
Then upscale each clip in your browser. It runs on your own GPU through WebGPU, so a family's tapes never leave the computer, and the audio is copied across untouched. The output is H.264 MP4. AI video upscaling needs a WebGPU browser; without one, the upscaler only offers a basic resize, labeled as such. A two-hour tape is 24 five-minute clips, so check the size and look of the first finished clip before you run the rest. If your device offers the slower Enhance mode, try a 30-second section in both modes on your noisiest tape before committing. The general 1080p and 4K walkthrough covers the upscaling steps themselves.
What upscaling can't bring back
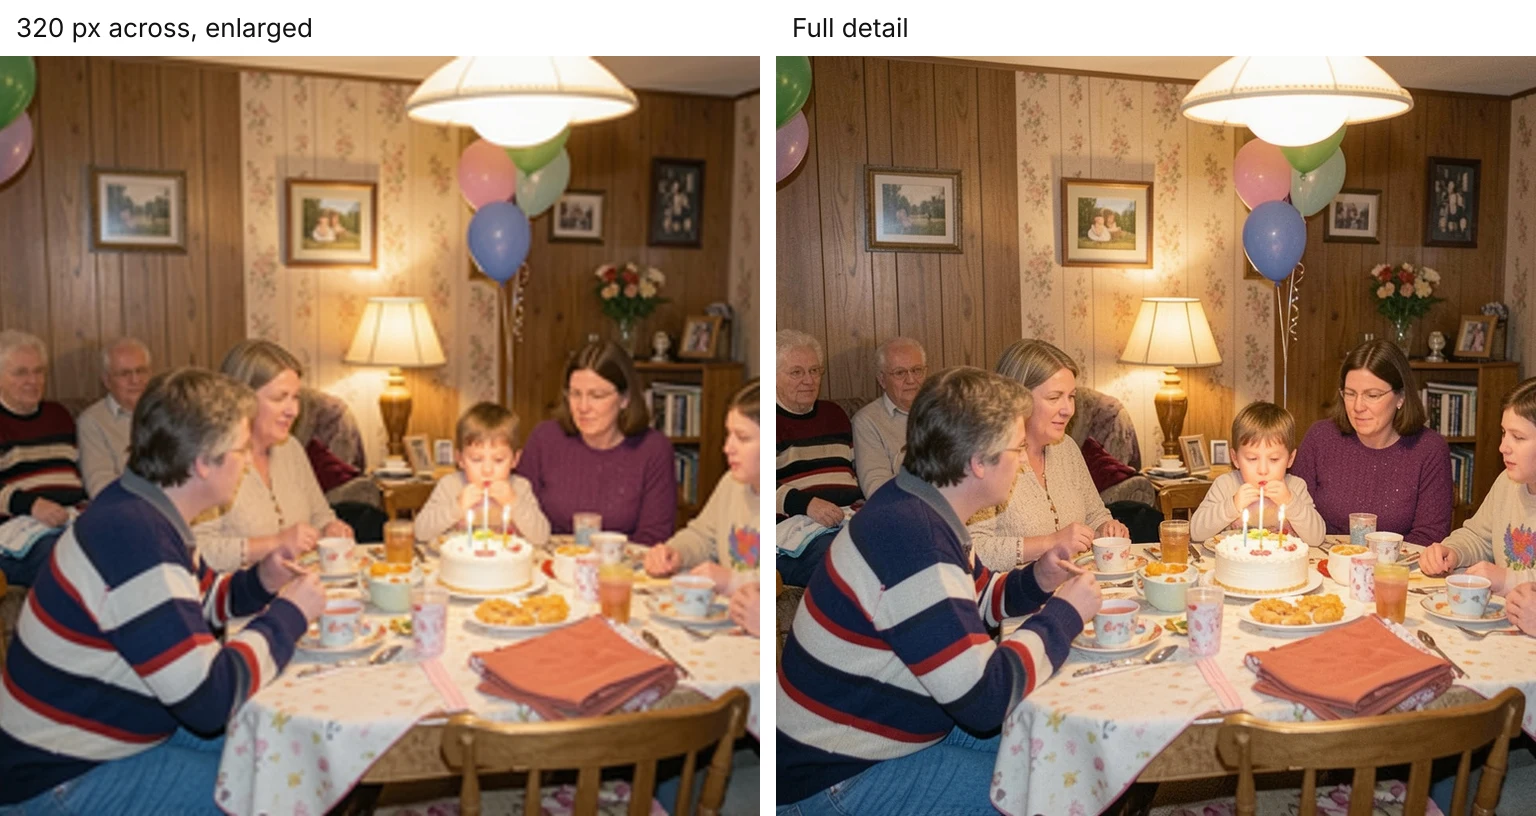
The left panel has roughly the brightness detail a VHS tape kept of a living-room party (real tape keeps far less color detail and adds noise on top). An upscaler makes the edges cleaner and the noise calmer, but some things stay lost:
- Small faces. A face a tenth of the frame wide got about 33 samples of brightness detail across on VHS, and about four of color. An upscaler fills that in with a plausible face, which can come out smooth or slightly unlike the person. Close-ups survive far better than people across the room.
- Color. With roughly 40 samples of color across the frame, reds bleed past edges and skin tones blur together. Upscaling doesn't restore color resolution.
- Dropouts, tracking lines and wobble. These are playback problems. Fix them at capture with a cleaner tape, a better deck or a TBC.
- Low-light blur. Indoor birthday footage was often shot at slow shutter speeds, so moving hands and faces are smeared in the recording itself. How AI video upscaling works explains why detail that was never captured can't be rebuilt.
- Frame rate. Upscaling changes pixel size, not motion. Double-rate deinterlacing is what gives you smooth 50 or 60 frame motion.
If the same box also holds prints from those years, restoring them is a separate job with its own rules, starting with a good scan at a high resolution.
For a box of tapes, work in this order: capture everything once at full quality and archive it, then deinterlace, crop and upscale only the scenes you'll actually watch, starting with a single clip to check the settings. Footage that came on disc skips the capture step but has its own quirks; DVD rips are covered separately.
Ready to try it yourself? It's free, and your files never leave your device.
Try the free AI video upscaler